
BUILDING A HANA: DAMPER AND SOLDERING
2: DAMPER AND SOLDERING
The assembly of HANA cartridges involves precise processes to ensure optimal performance. It begins with installing the damper in the wound coil and then positioning it in the cartridge generator, forming a magnetic circuit that converts stylus movement into an audio signal. The process concludes with careful soldering under a microscope to ensure flawless signal transmission, followed by an electrical integrity check.
The damper installation and its integration with the cartridge generator is a critical step in assembling all HANA cartridges. The damper is first positioned near the wound coil cross-section before being carefully slotted into the cartridge generator, which forms the magnetic circuit. This circuit plays a vital role in generating the electrical audio signal from the stylus’s movement within the grooves of the vinyl.
Next, the cantilever is installed into the cartridge body, where it aligns with the Alnico magnet. As its name suggests, Alnico is an alloy composed of aluminium, nickel, and cobalt. It is highly valued in high-end audio applications for its exceptional magnetic properties, contributing to precise and natural sound reproduction.


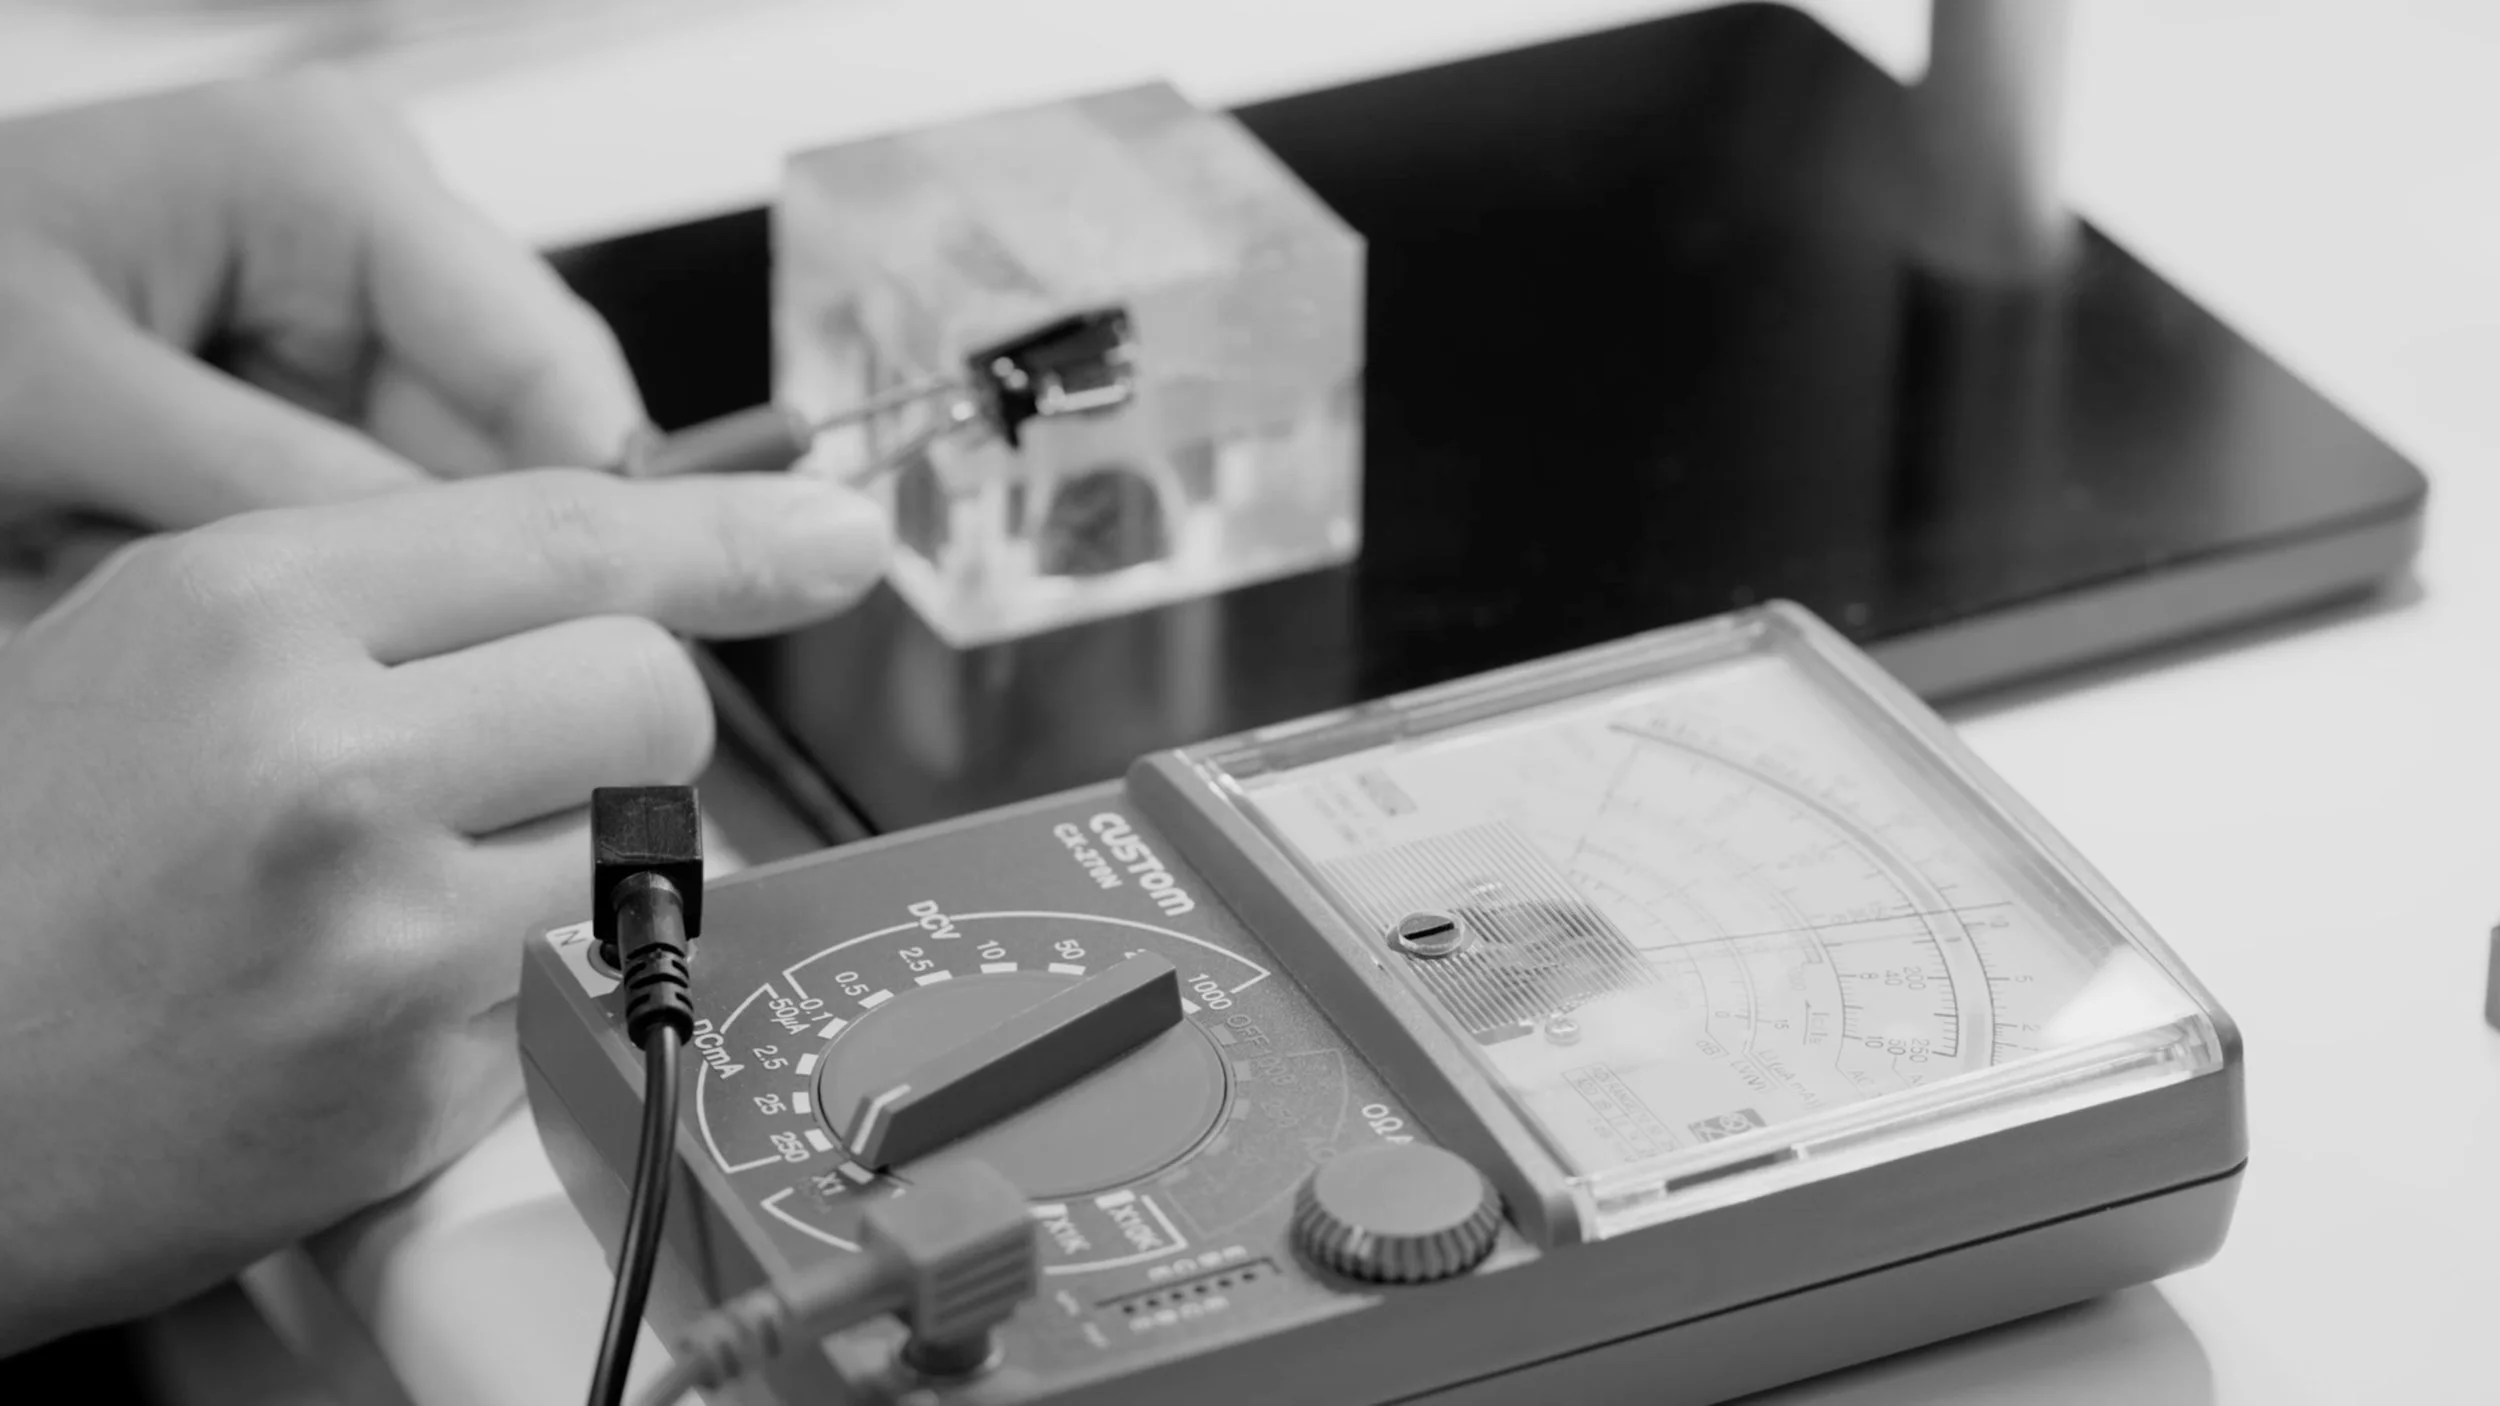
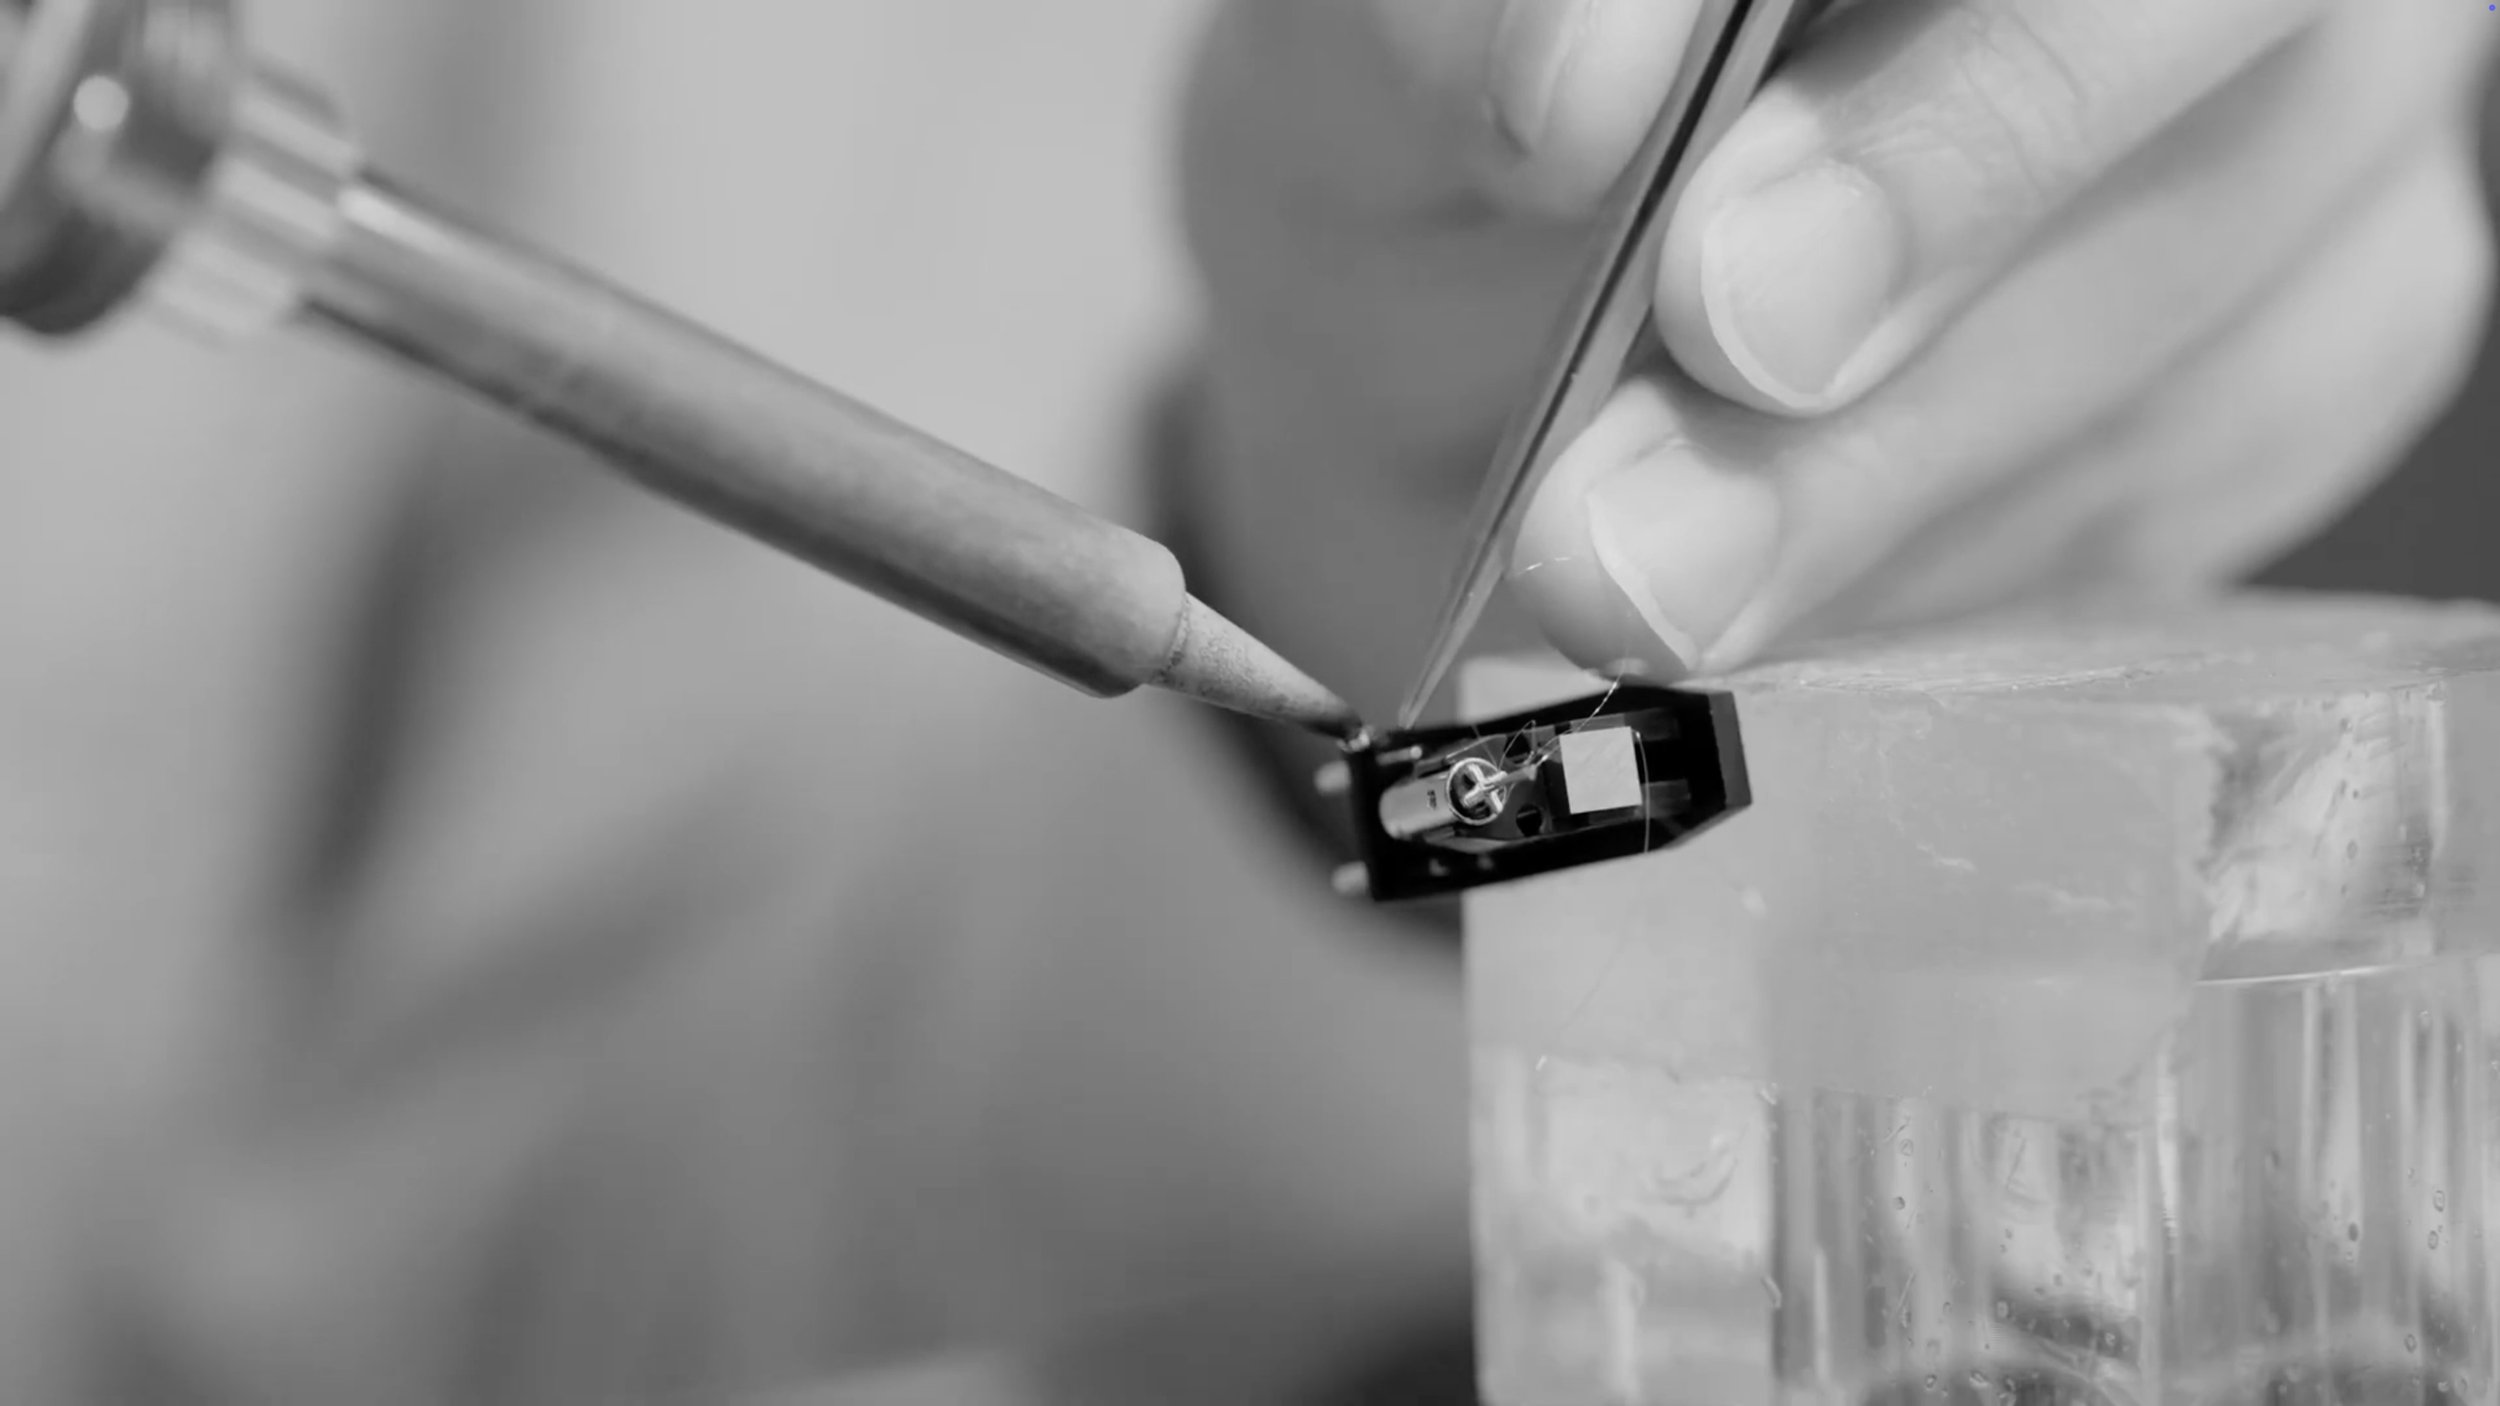
The delicate process continues with the soldering of the ultra-fine wires under a microscope, using a temperature-controlled, lead-free soldering iron to ensure optimal signal integrity. This meticulous process ensures the electrical connections are as clean and efficient as possible. Finally, a technician conducts an electrical integrity check. Once the assembly passes this test, the cartridge moves on to the next stage in its construction.